microcomputer final project
April 2022 - May 2022
Background
In Microcomputer Project Laboratory, MIT Course 6.2061 (previously 6.1151), the class ends with a 4 week long independent final project. The only requirements were to use the PSoC 5 Microcontroller. Additional hardware components were recommended and available to be used as well. An initial proposal was written and reviewed with course staff, but the project plan was designed and executed independently.
Overview
For my project, a Connect Four game was created. The game was programmed in C on the PSoC 5, with game visuals showing up on a TFT screen. The player(s) used a keypad to control the game (from player setup to actual gameplay) with additional light and sound effects. After a quick demo, the hardware components will be summarized, followed by a description of the features in the game. The purpose of this page is to summarize the results of the project. To get more details on any section, including implementation process, download the full report in the Links section at the bottom. Source code can also be found there.
Demo
Shown is single player mode, with basic adding and assigning of players. For a complete feature description see Game Features below.
Hardware Components
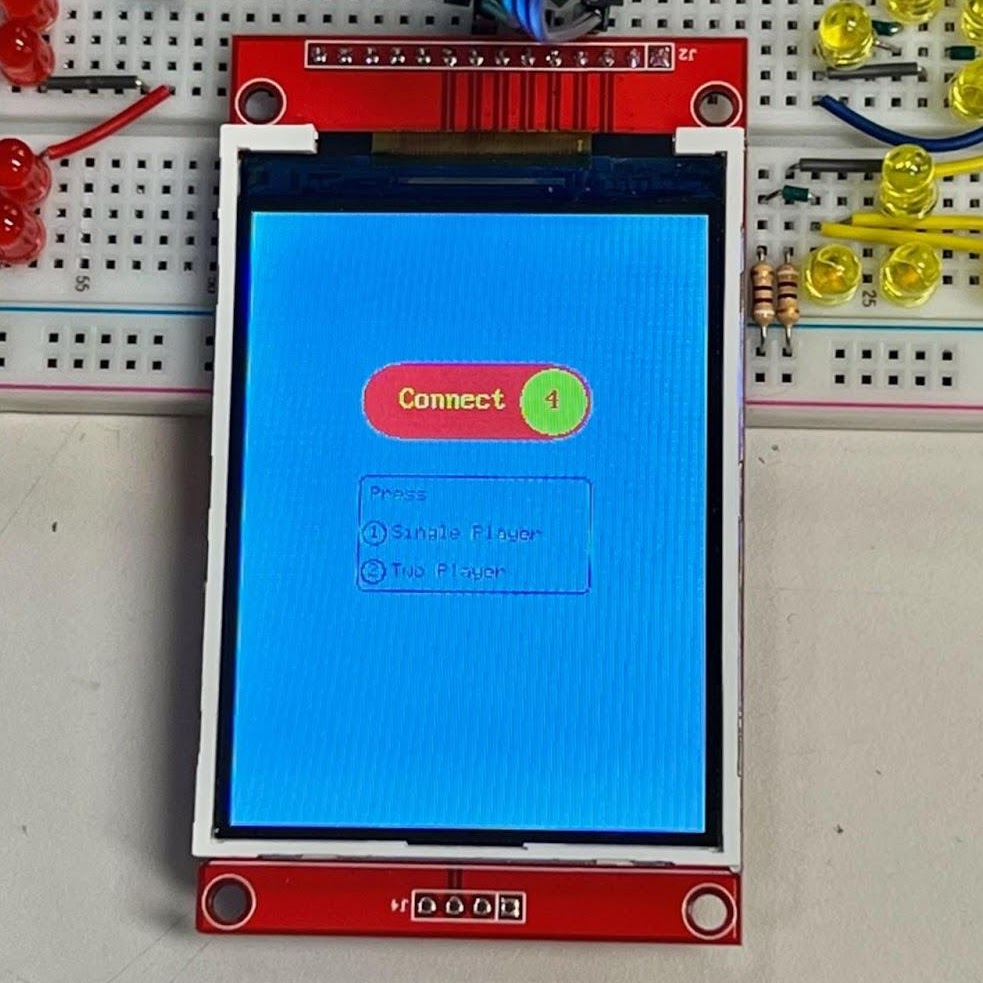
The TFT screen is the primary visuals for the game, showing things such as the list of players or the state of the game.
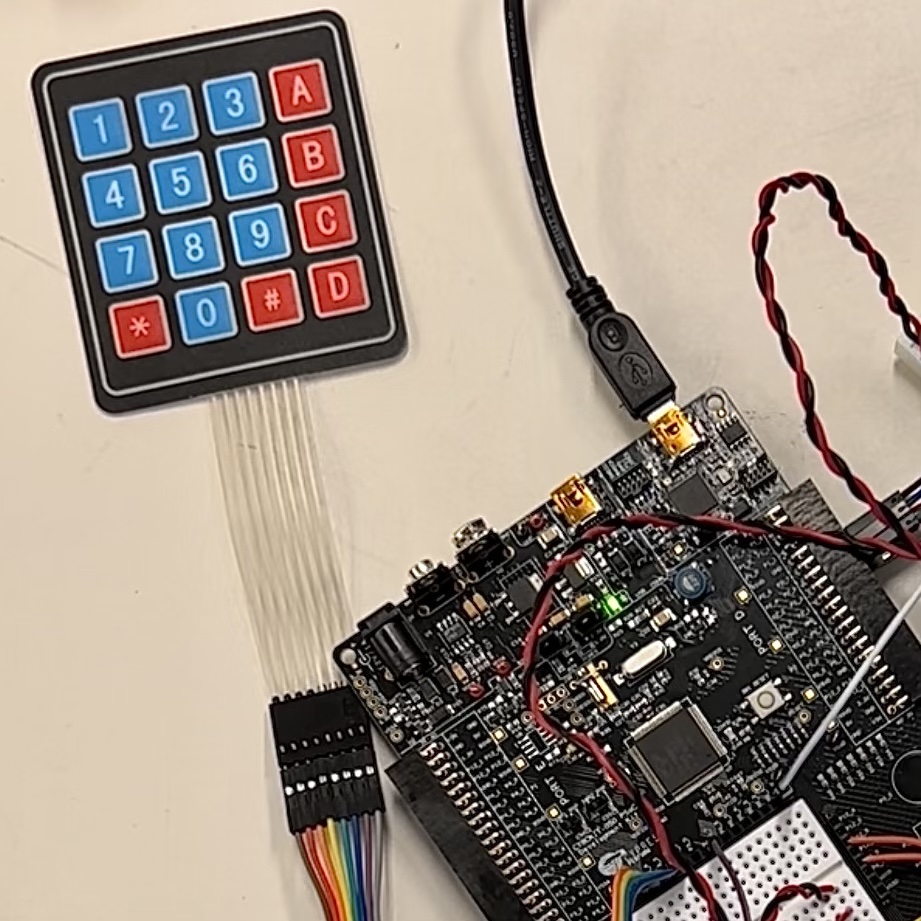
The keypad, along with its encoder, is the primary method for users to interact with the game.
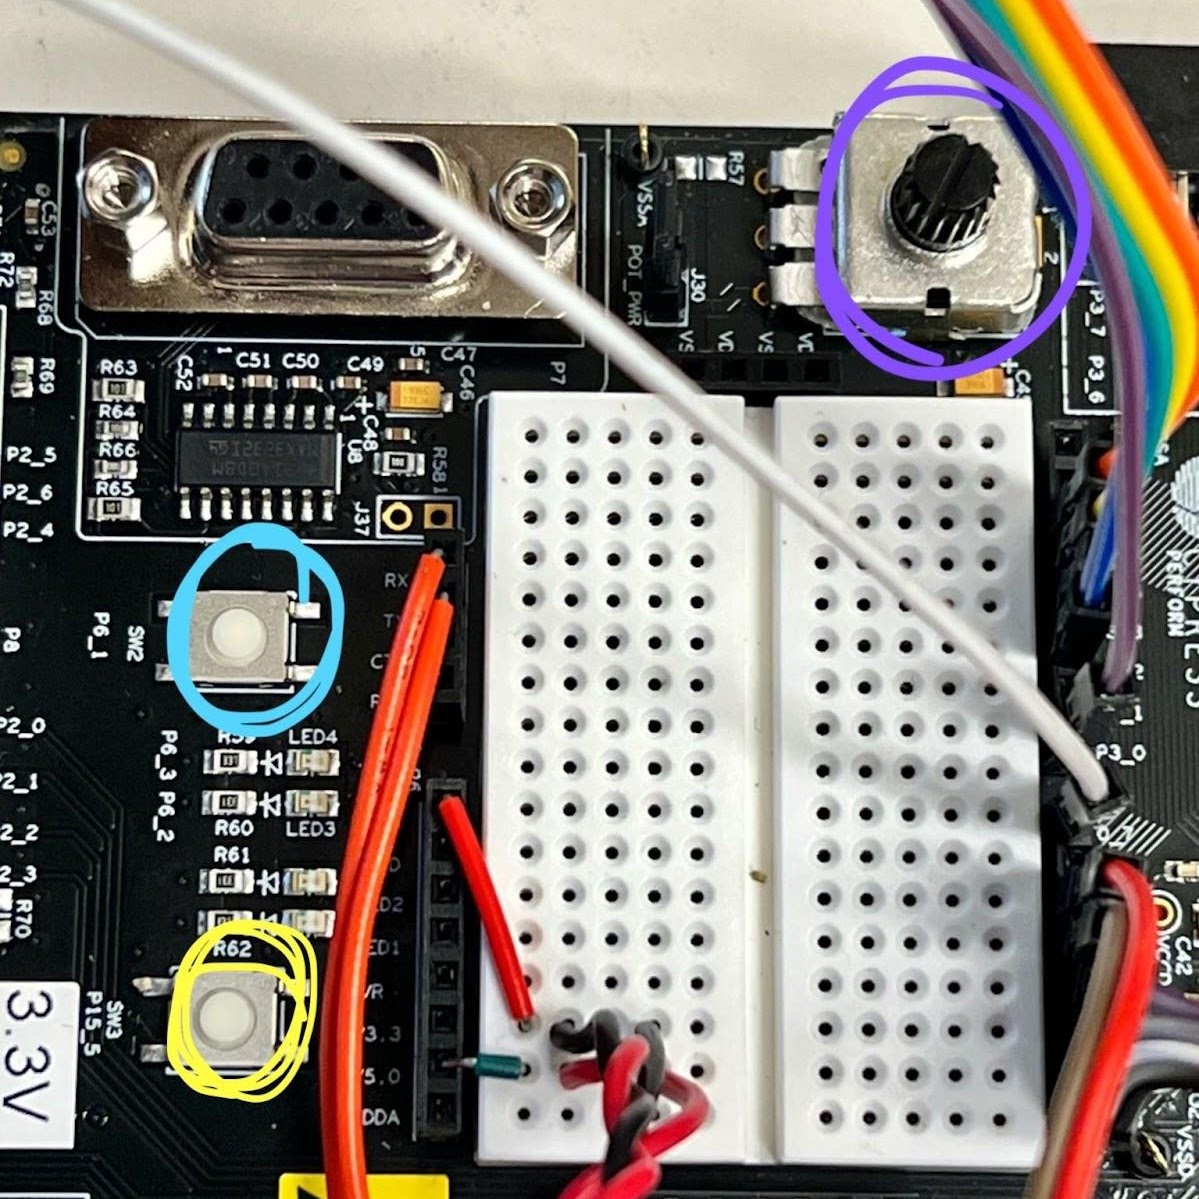
These components are part of the PSoC, and are only used to enter a player’s name during game setup.
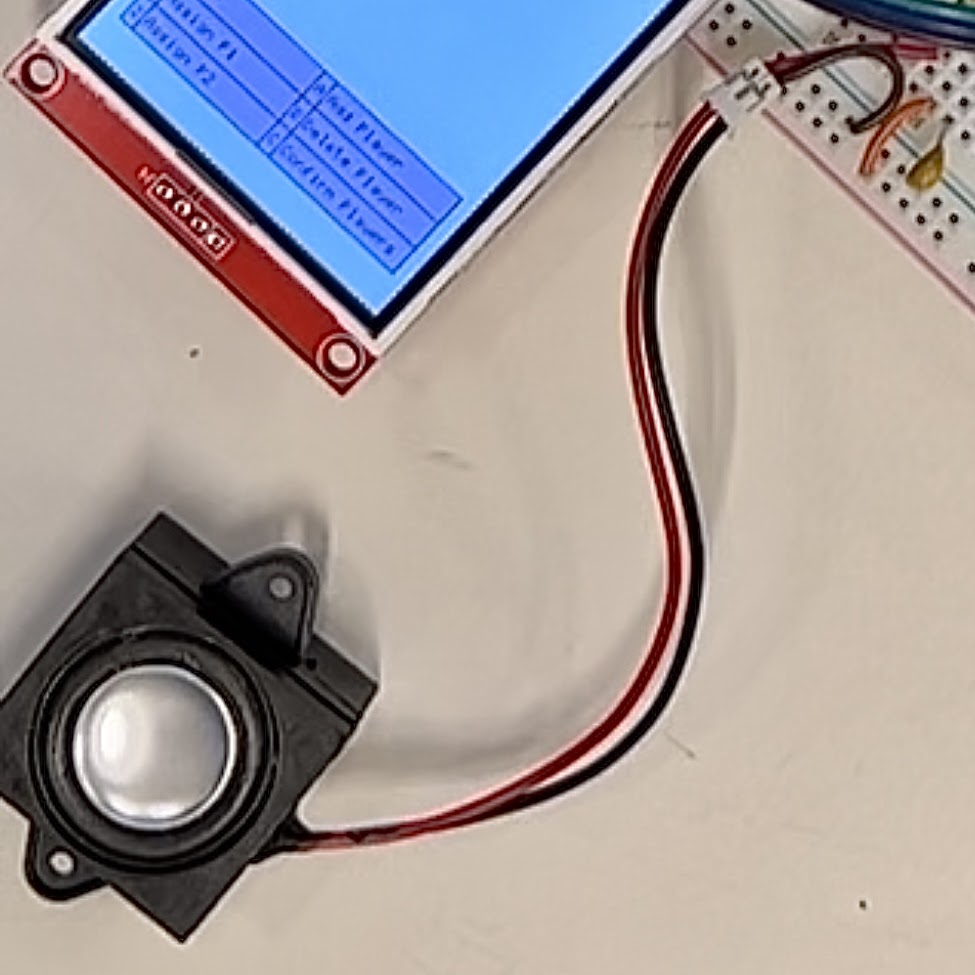
The speaker and amplifier are used as a form of negative feedback, playing an error-like buzzer sound when a user does something wrong.
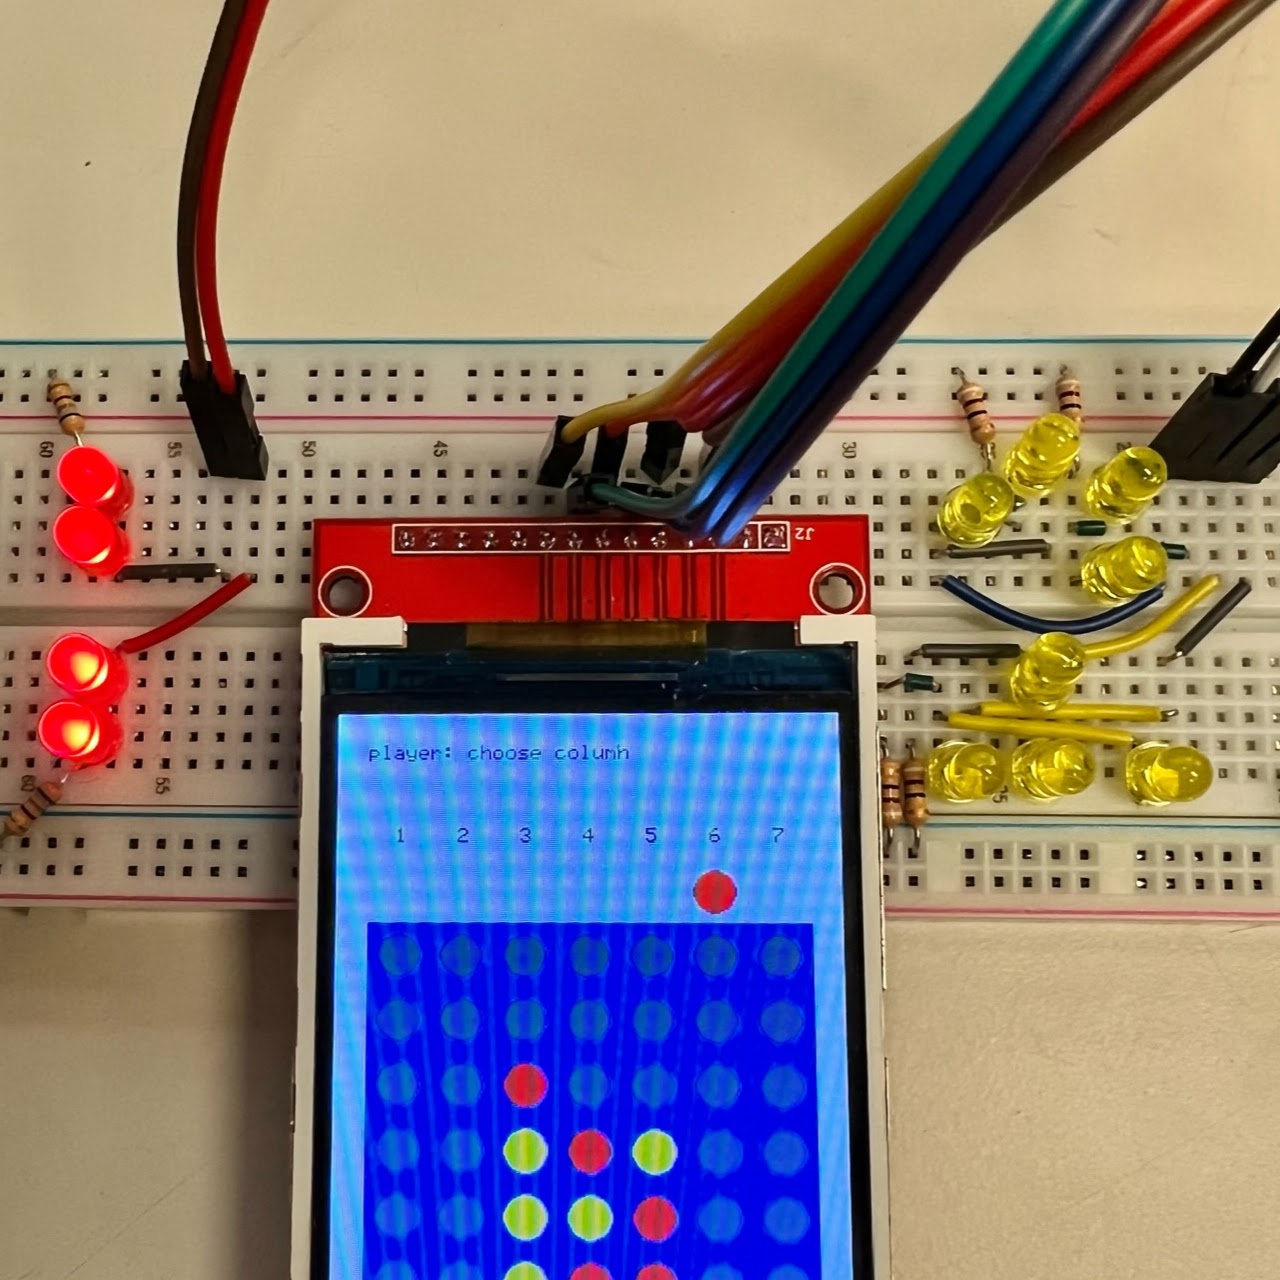
The lights are used as additional visuals for the user, lighting up to indicate which player's turn it is.
Game Features
The game is controlled almost exclusively through the keypad - when referring to a player “choosing” or “selecting” something, it is likely using the numbers on the keypad.
Note: In the context of the game, the term “player” can easily be interpreted as a number of things. As a result, this report aims to refer to the person playing the game as the user, the names in the system as players, and the 1 or 2 players actually playing the game as P1 and P2.
Home Screen
In addition to being a home screen, this is also a “pre-setup” screen where users choose between single and two player mode - pressing 1 on the keypad chooses single player, and pressing 2 is two player.
Even after entering the setup state, the user can press * on the keypad to return to the home screen and switch a different player mode.
The screen will also be shown when starting a new game after completed games, as selecting the player mode is a necessary step to determining player assignment and flow of the game.
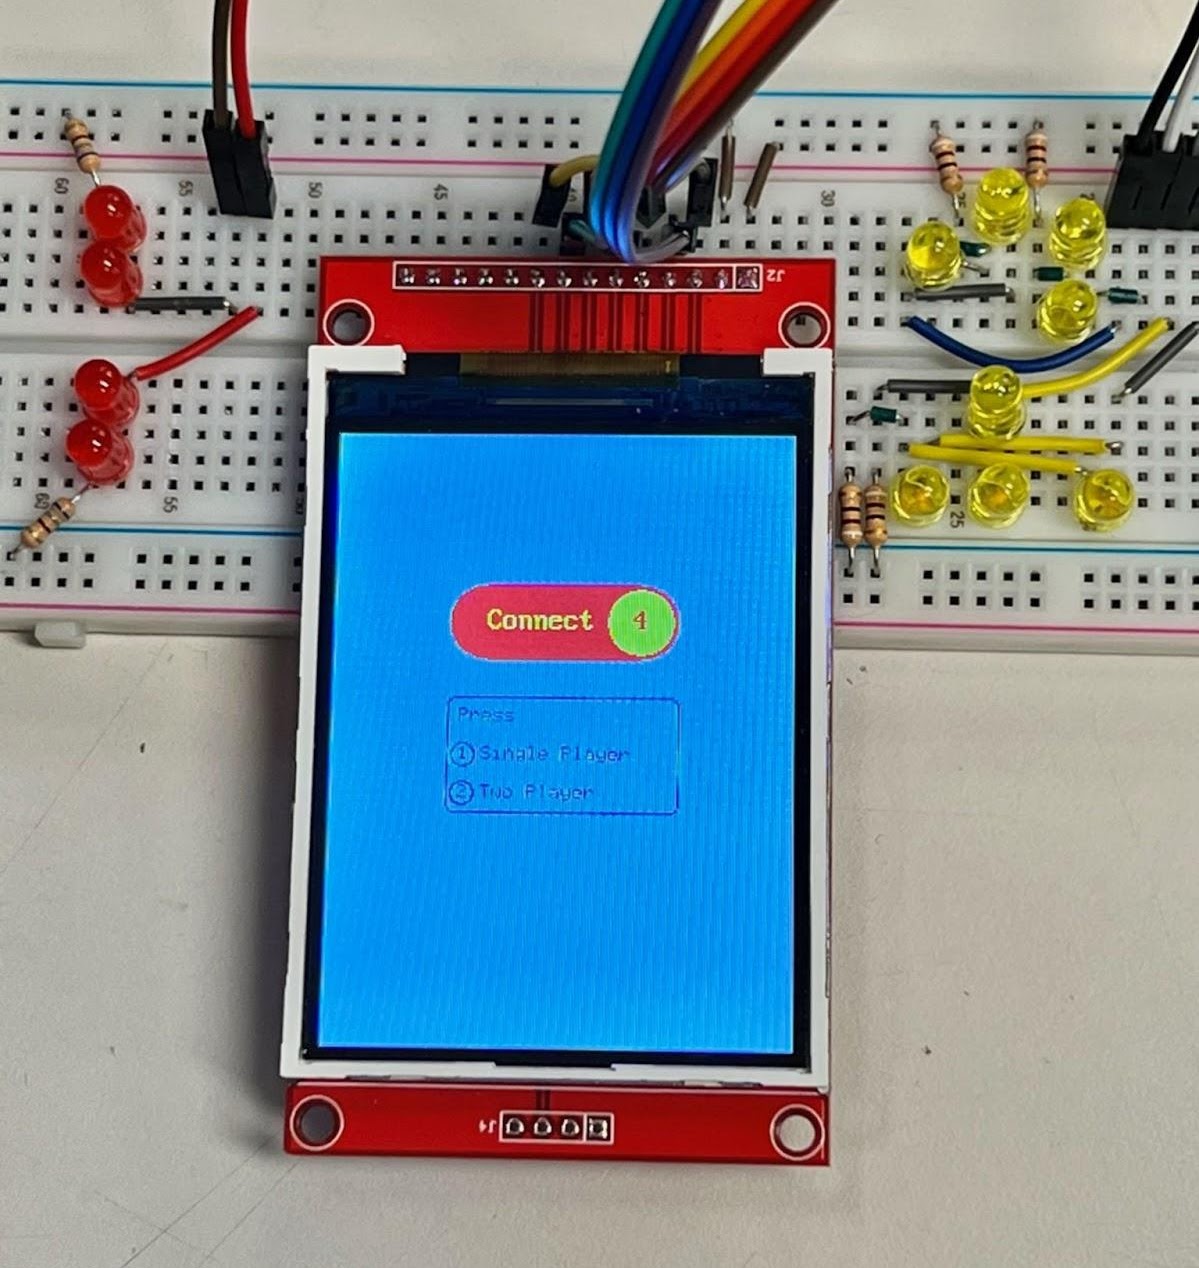
Setup Screen
Until the user “moves on” from the setup state, we will continue to display the following information:
- All players currently in the system (green list)
- Players currently assigned to P1 and P2 (yellow highlight)
- Options available (purple boxes)
The option to assign P2 is only available in two player mode.
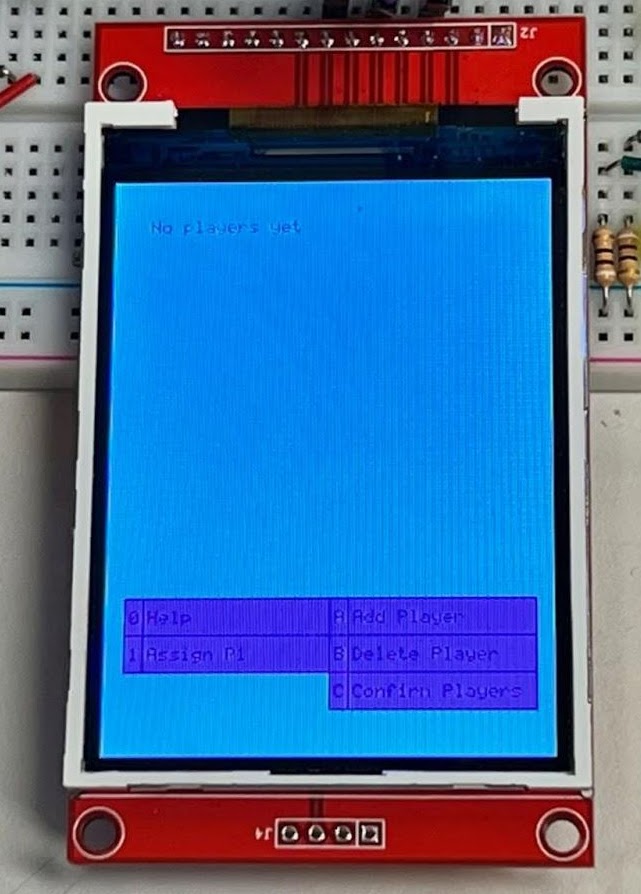
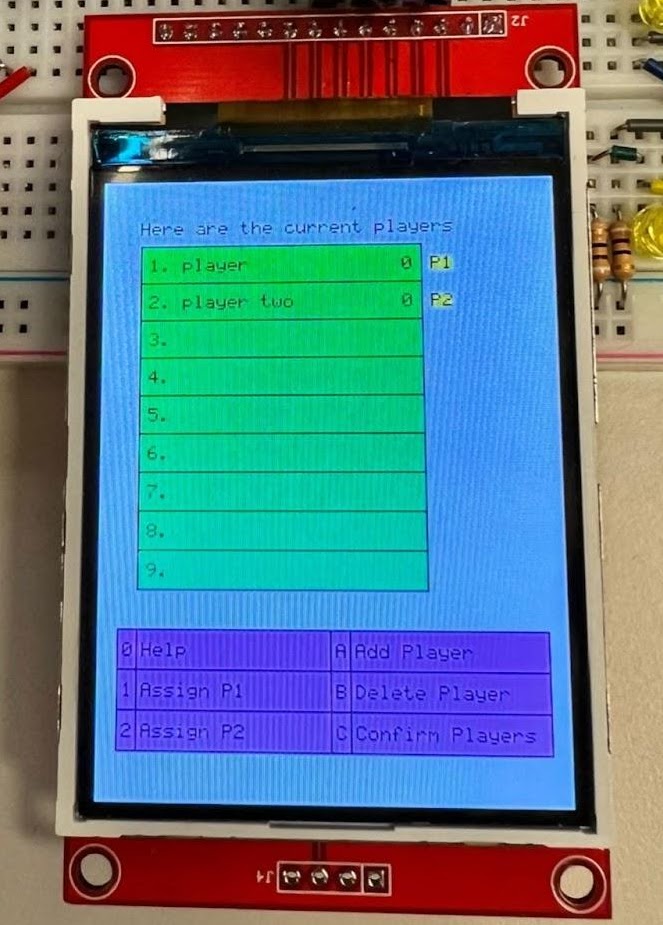
A user will choose one of the options. If it is something they are able to do, then the program will act accordingly. If not, a buzzer sound will be emitted from the speaker to indicate they have done something incorrect. The screen updates itself depending on changes made by the user.
When starting up the game for the first time, there will be no players and empty assignments (left screen). The only successful action that can be done is adding a new player. Only players in the player list can be assigned - new players always need to be added before being assigned.
Setup - Adding Players
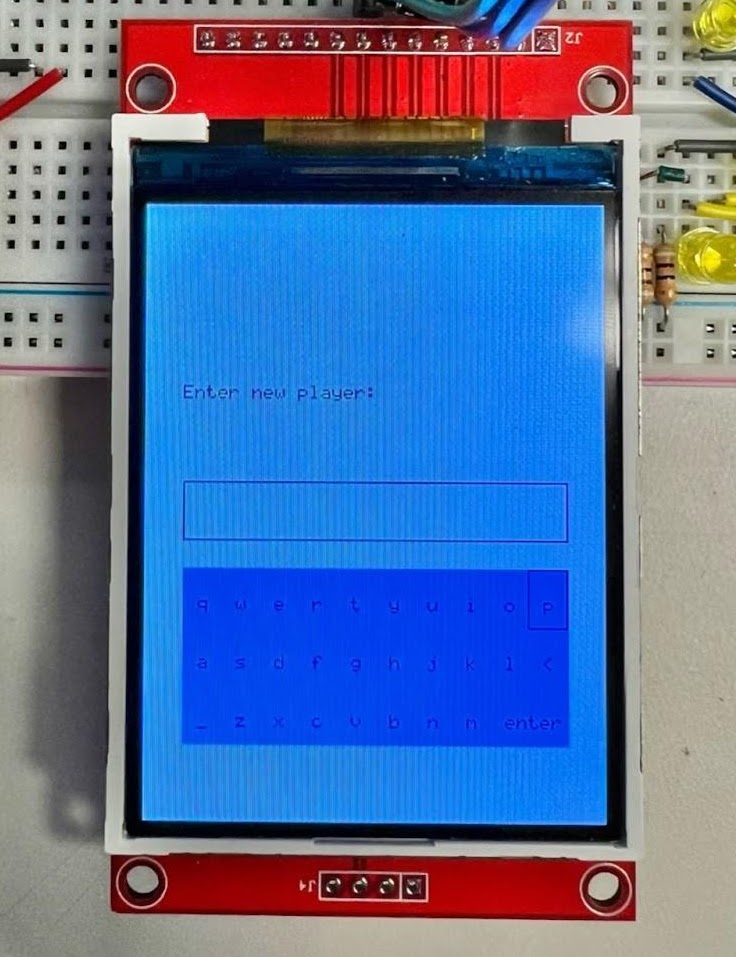
"Keyboard" Screen

Potentiometer to move across a row (purple)
Button to toggle between rows (yellow)
Button to “press” a key (blue)
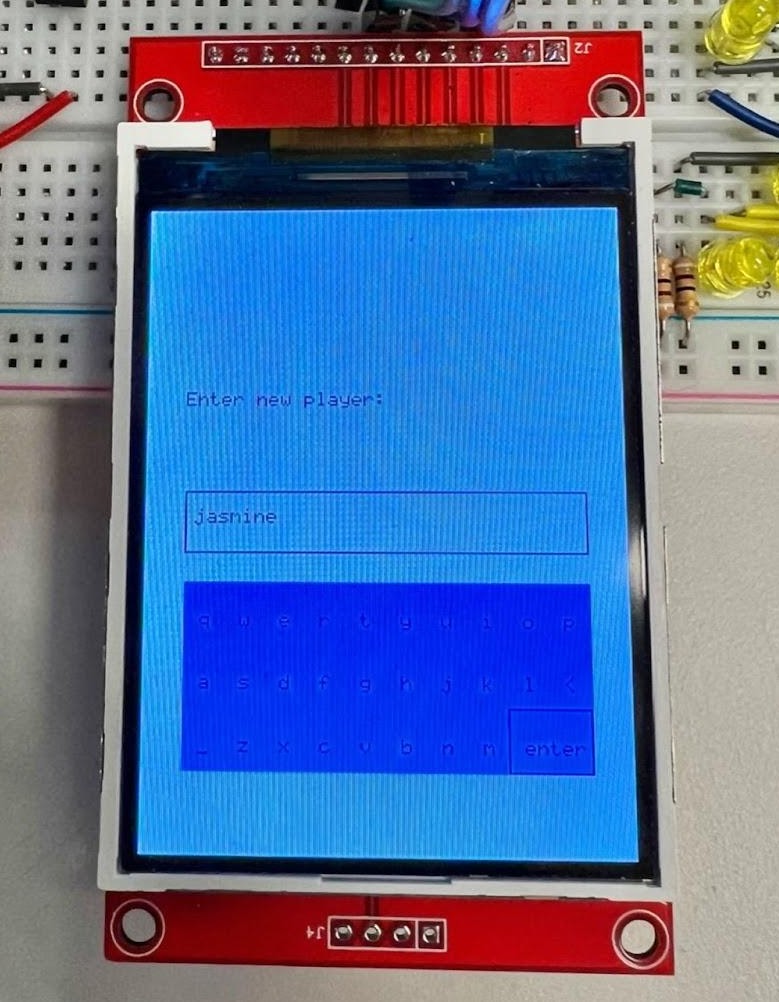
Once full name is entered, user should click "enter" key (bottom right)
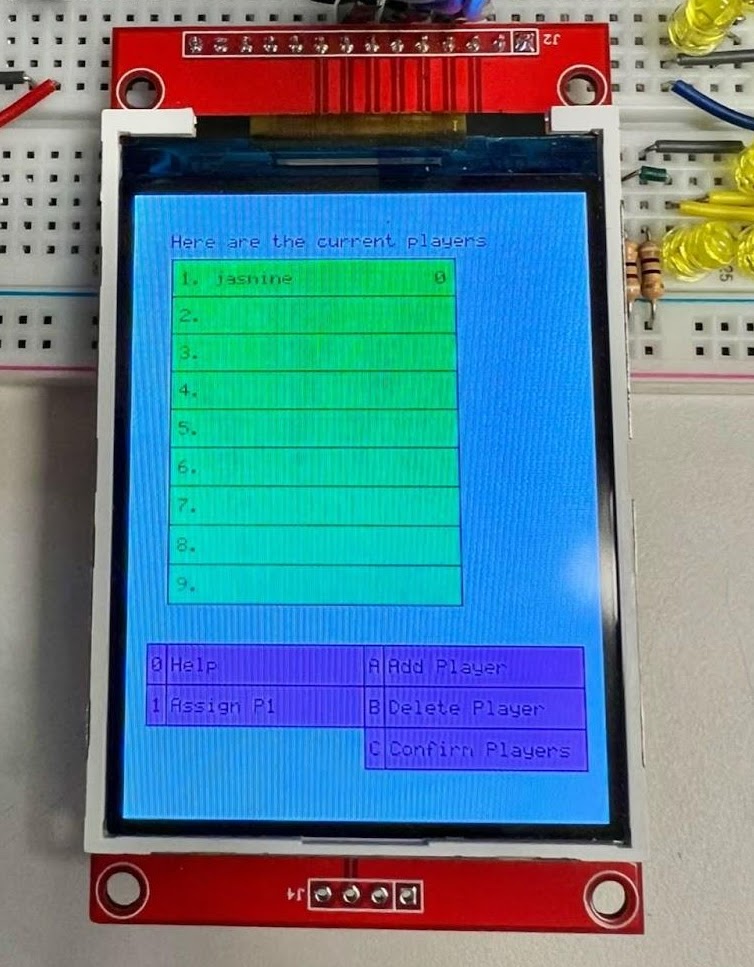
New player will now show up on player list
Setup - Deleting Players
This command was primarily created because only 9 players can be in the system at a time, so if 9 exist and a new person wants to play, an old one needs to be deleted.
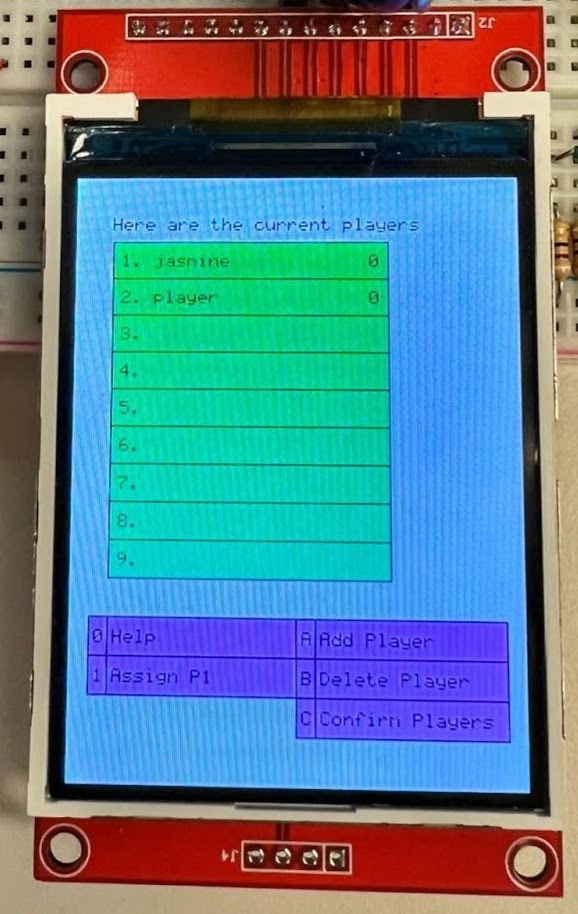
Original player list - user presses B to delete a player
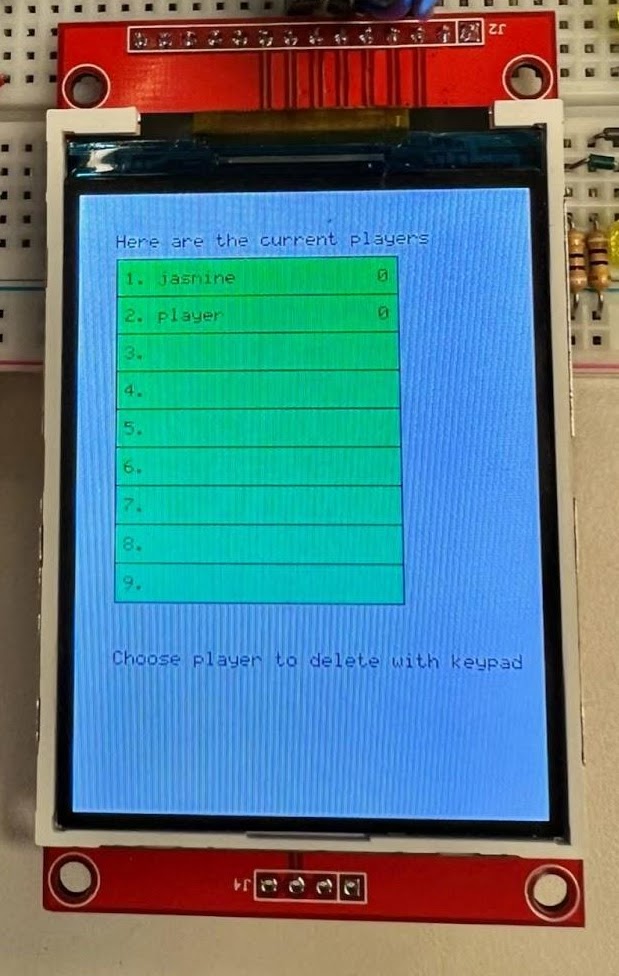
User then selects an actual player to delete (players are numbered)
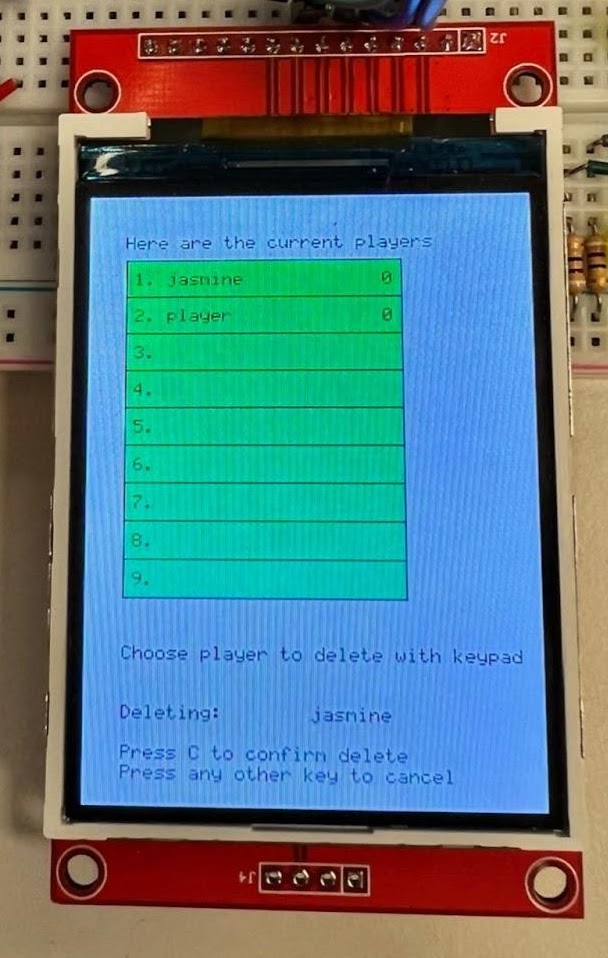
The deleted player is "confirmed" because this act cannot be undone
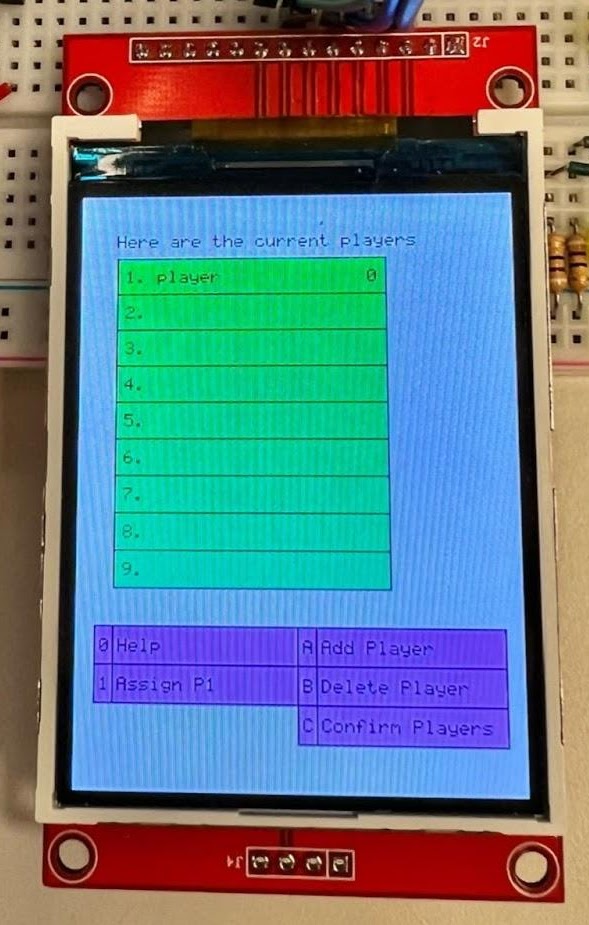
The modified player list
Setup - Assigning Players
To choose which players will actually be playing the game, P1 (and P2 in two player) need to be assigned.
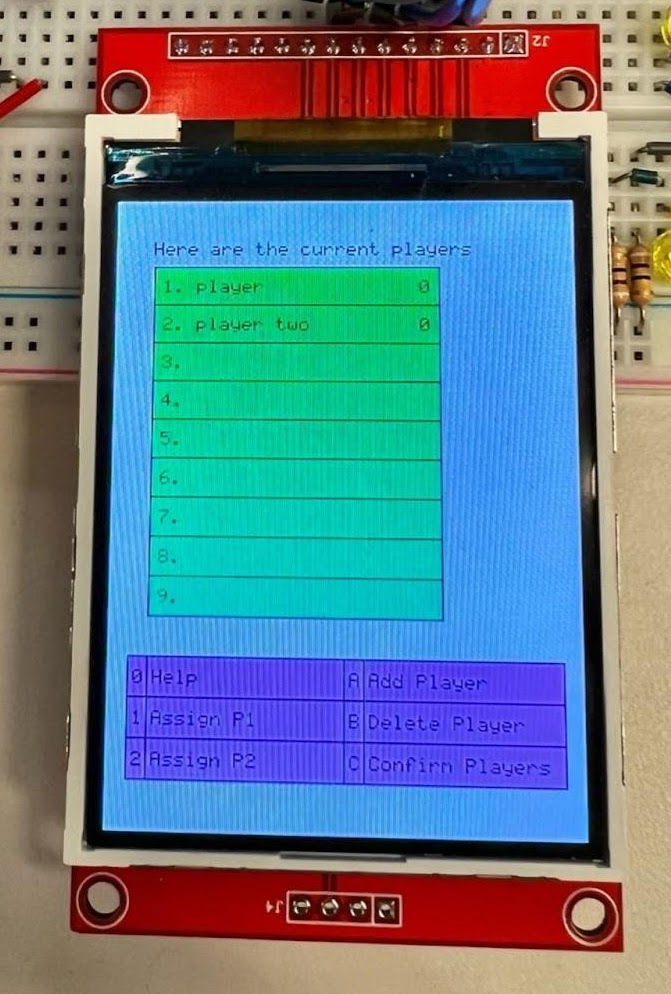
Original player list - user presses 1 or 2 to assign P1 and P2, respectively
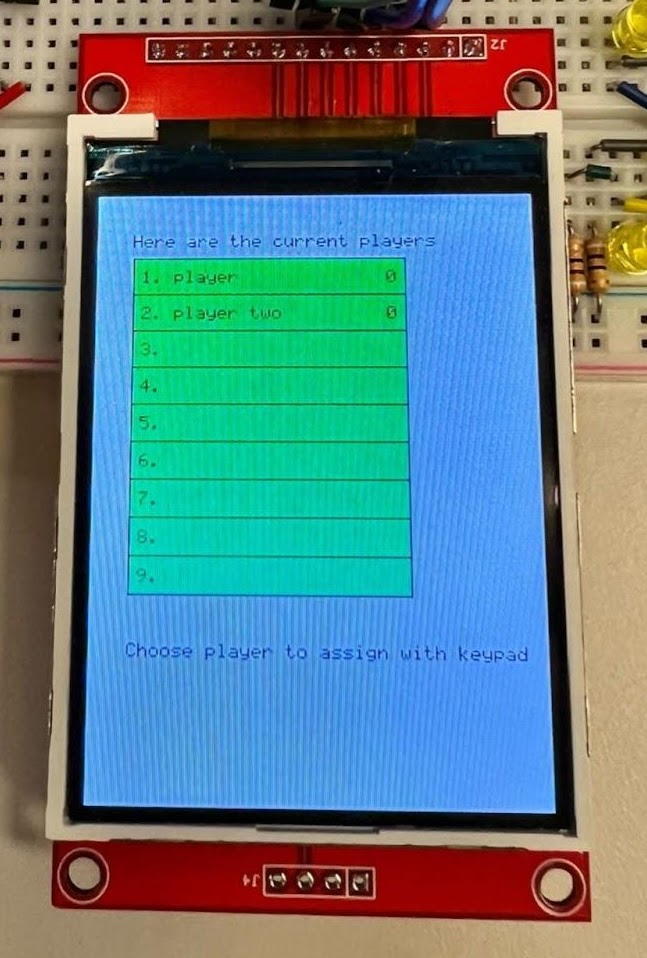
User then selects an actual player to be assigned
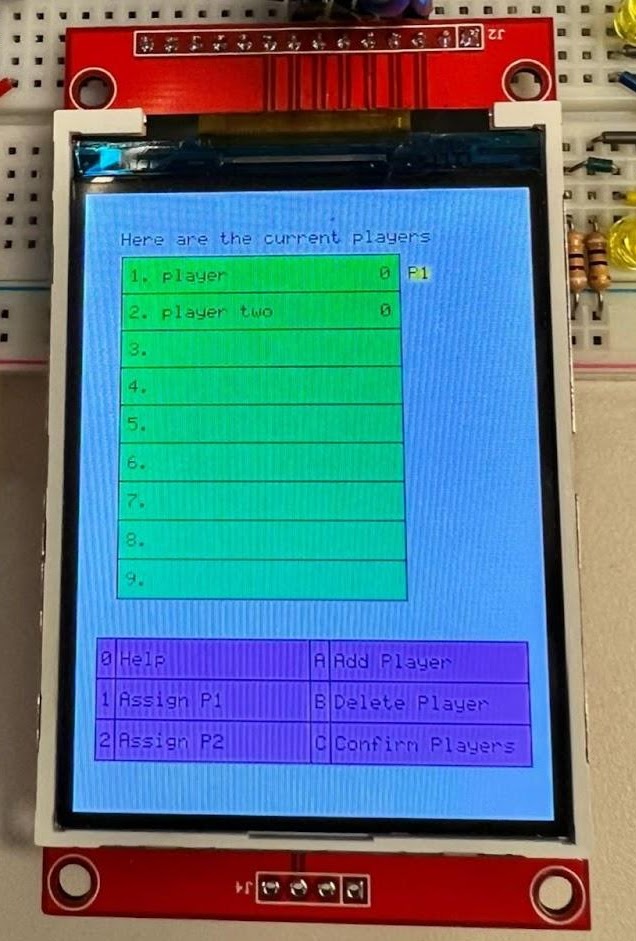
Player screen now reflects assignment
Setup - Confirming Players
If user(s) are satisfied with player assignment(s), they confirm players, and gameplay begins.
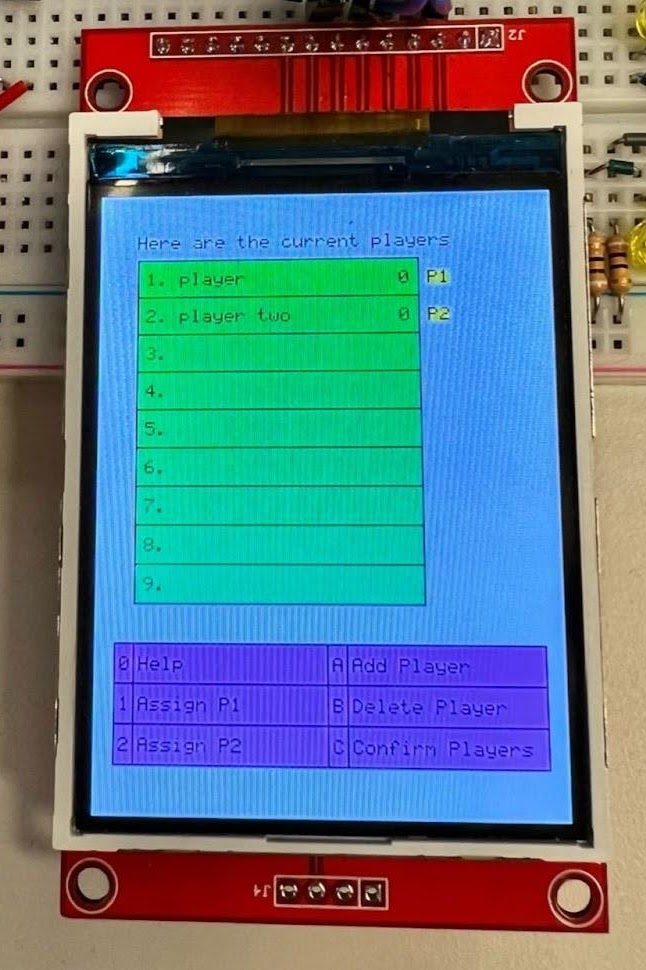
Original player list - user presses C to confirm players and begin gameplay
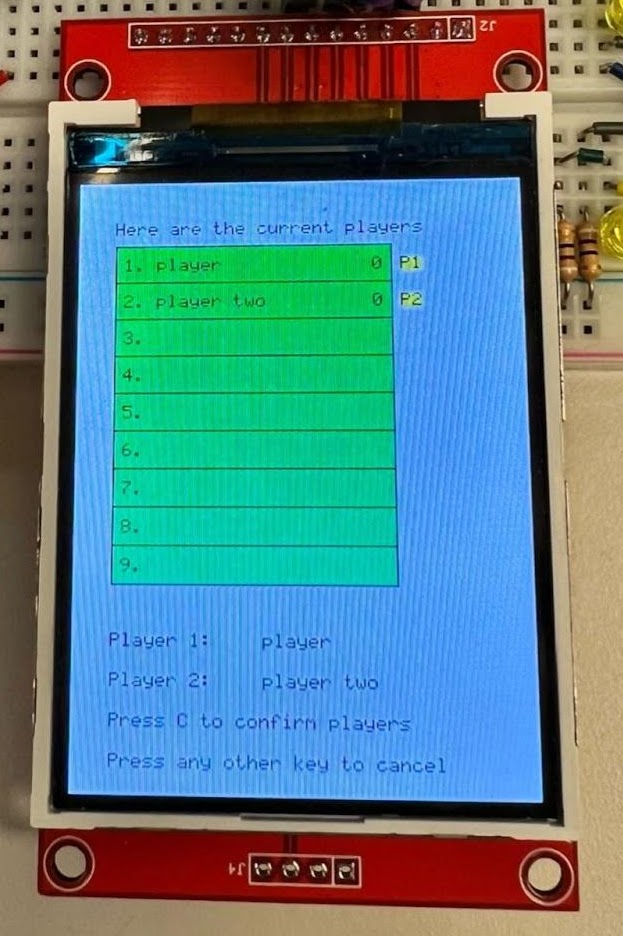
User presses C again to confirm assigned players
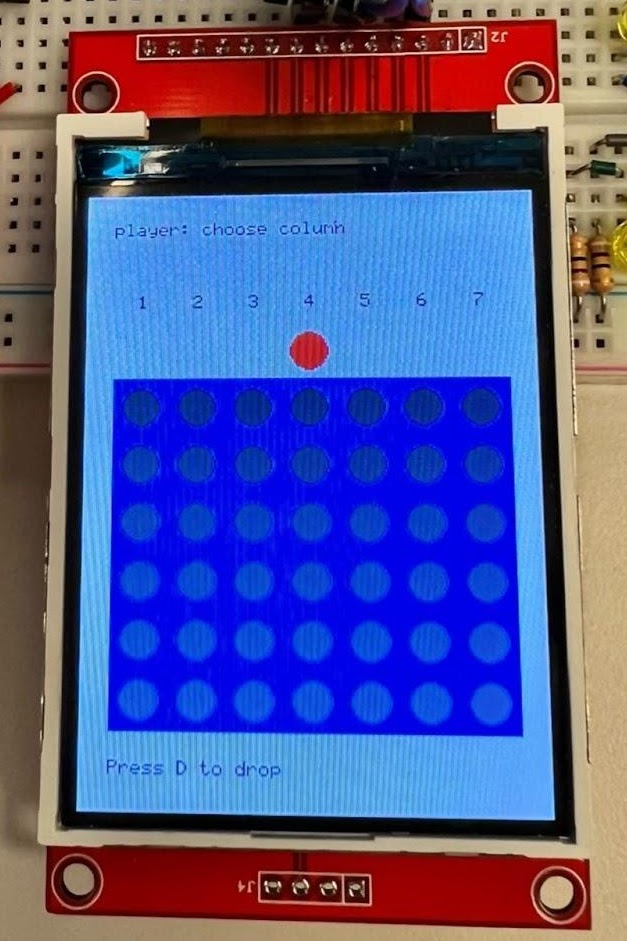
Gameplay begins
If user(s) are satisfied with player assignment(s), they confirm players, and gameplay begins.
Setup - Help Screen
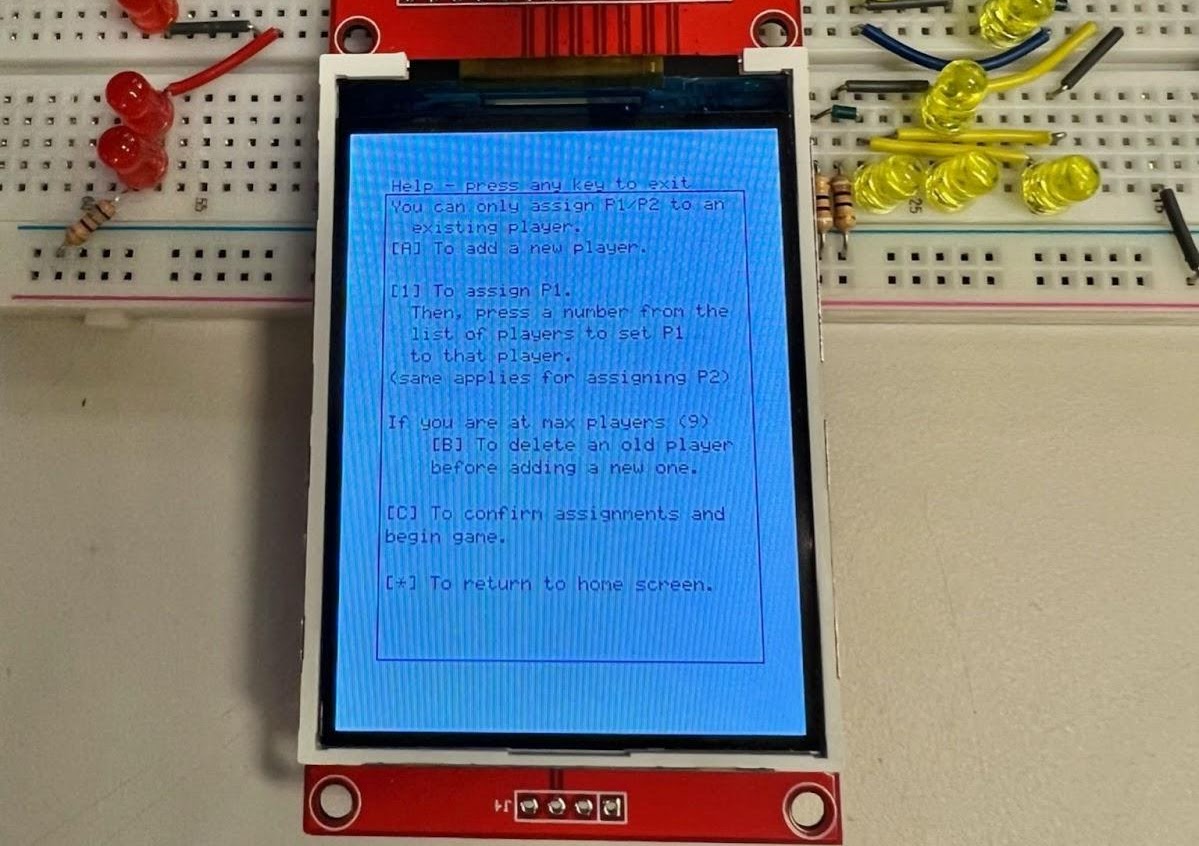
If the user was unclear with any part of the setup process, they can press 0 to display the help screen. The contents of the help screen are a quick summary of the explanation above.
Gameplay
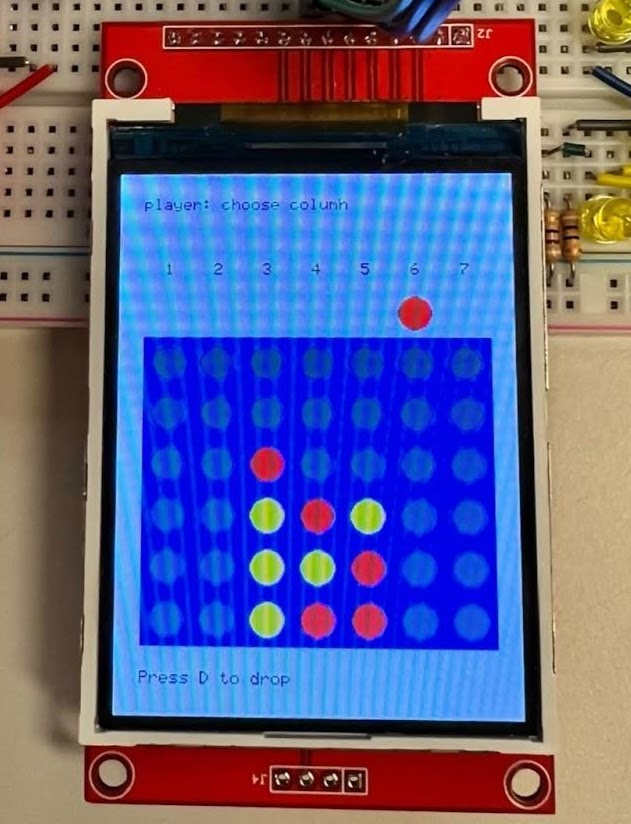
Players take turn placing chips in columns.
The game will indicate whose turn it is using both LED lights, along with text at the top of the screen.
A chip (corresponding to the player’s color) will hover above the board in the column that they have currently selected.
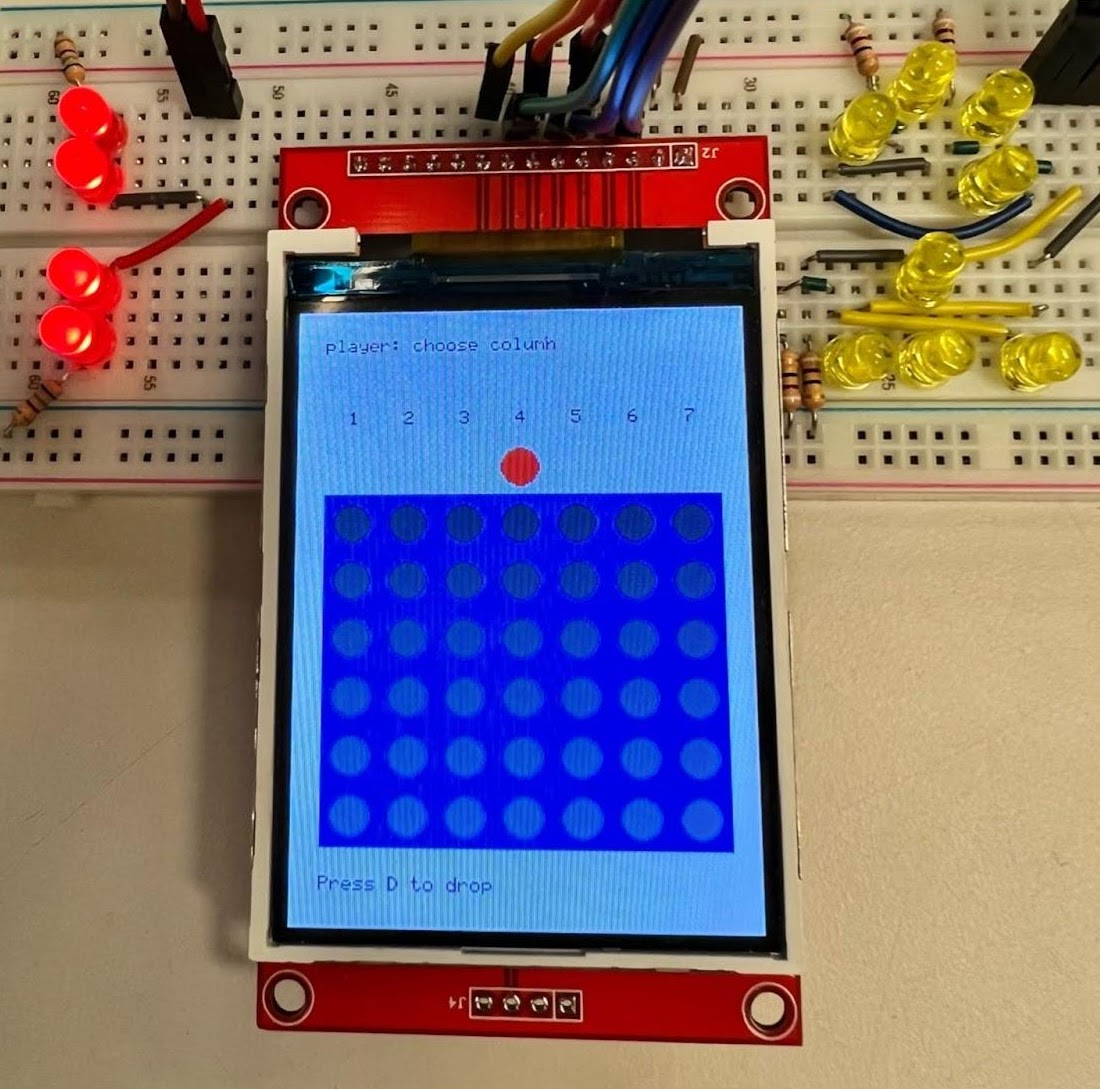
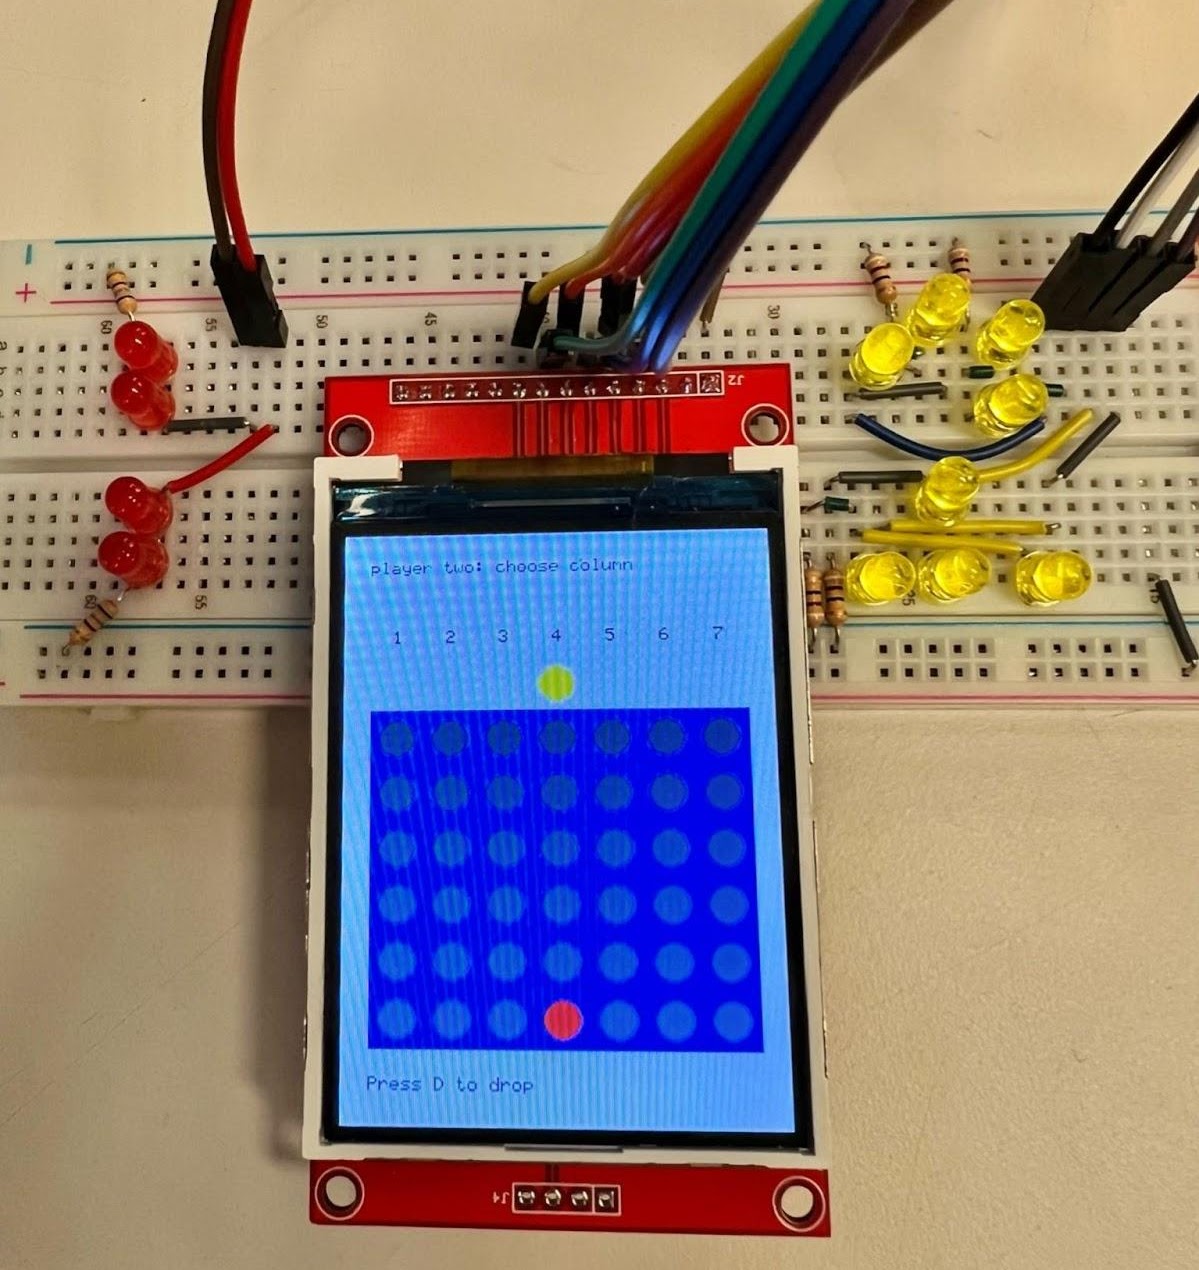
The "hovering chip" defaults to the middle column.
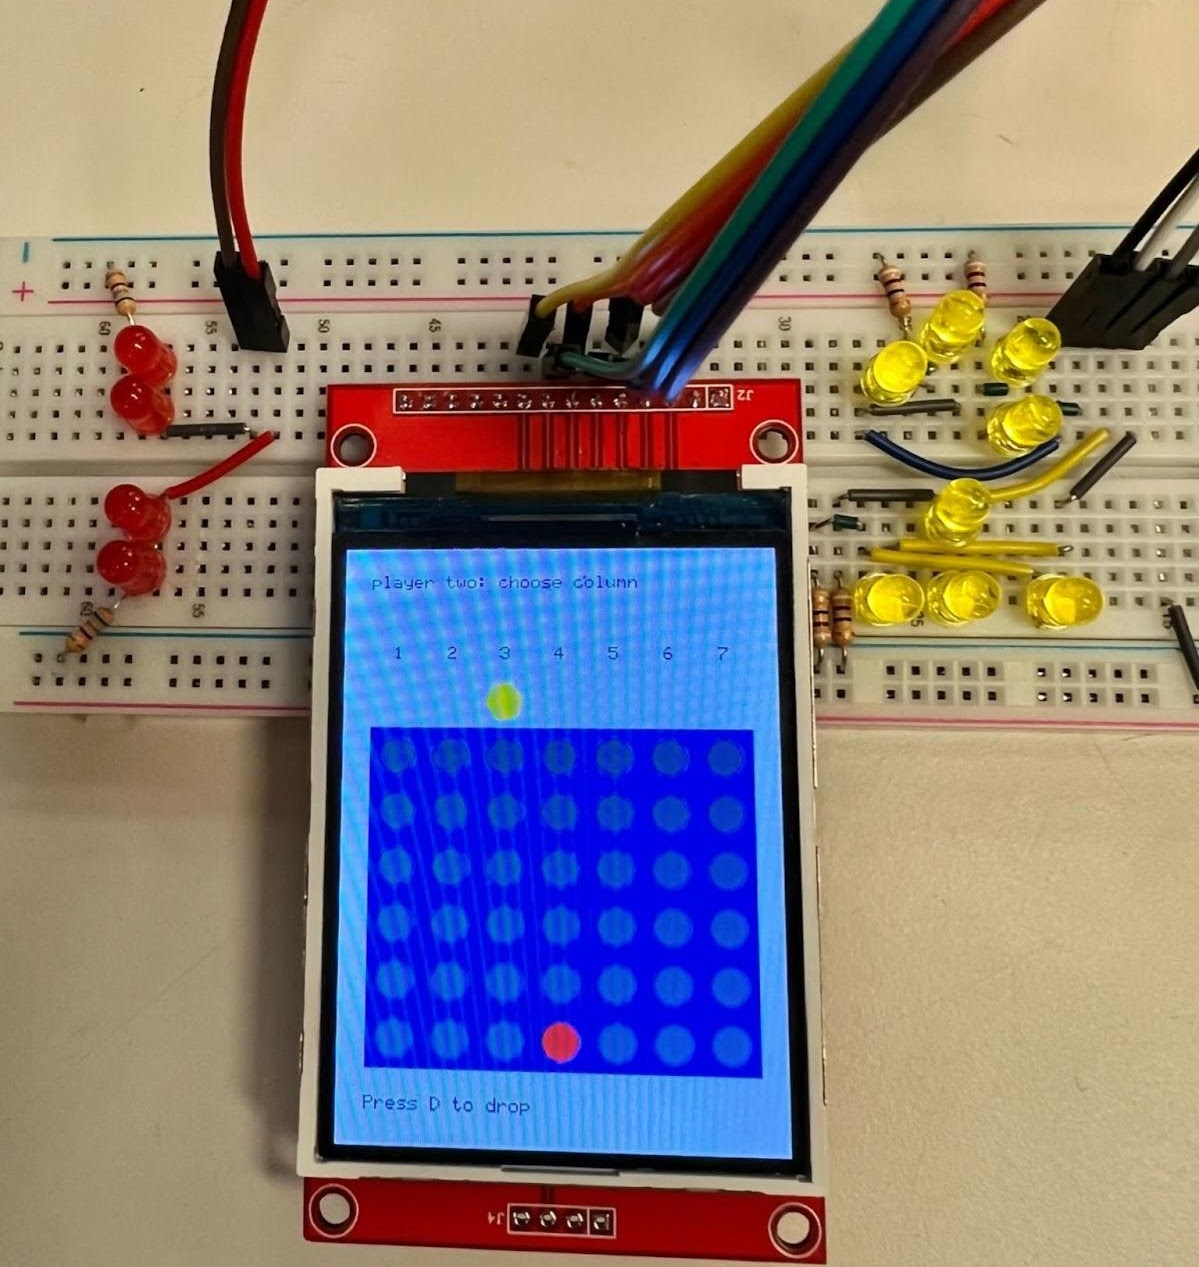
The player is able to change their mind any number of times, and the chip will move to the column they are selecting.
Pressing D will drop the piece and switch to the other player's turn.
Game Ending - Early Exit
Players have the opportunity to exit the game early by pressing *.
If they do so, the game will confirm that they want to exit (yellow highlighted text at the bottom of the screen), and send the player to the leaderboard screen (with no scores changed).
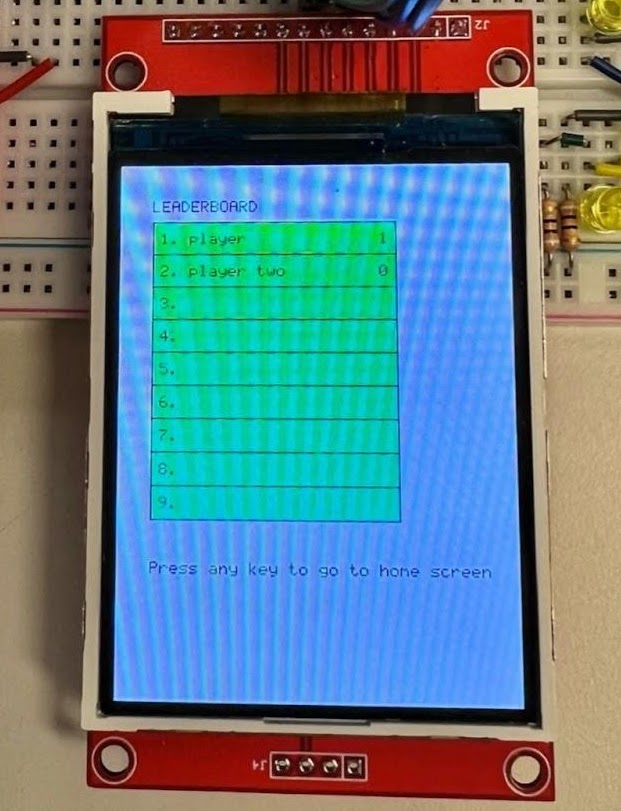
The leaderboard screen will be shown in the following section.

The player is able to change their mind any number of times, and the chip will move to the column they are selecting.
Game Ending - Player Wins
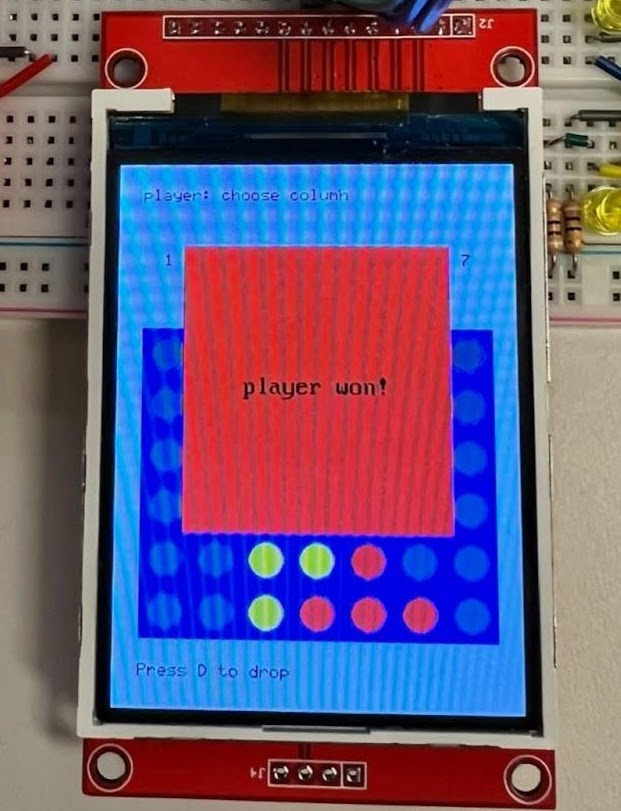
After a player makes a move that results in a win, a message will display. Then, the screen will change to show the leaderboard, with the most recent win reflected in the scores next to the player names.
Independent Inquiry
There was an extension of this class - the Independent Inquiry. For the extension, a topic (outside the scope of the class) was studied independently throughout the semester, and incorporated into the final project.
The goal of my independent inquiry study was to get hands-on experience with machine learning. Selected chapters from Hands-On Machine Learning by Aurélion Géron were read. This included all of Part I (Fundamentals of Machine Learning) and half of Part II (Neural Networks and Deep Learning).
The goal was to extend the main project by allowing users to use their voice to control the column selection in the Connect Four game. Initially, this appeared to be a problem mostly concerned with training and improving a ML model, although the scope expanded to other areas as well, including signal processing, understanding ModusToolbox compatibility, and more. A PSoC 6 was used for this portion of the project, as the increased memory and computing power was necessary to support a ML model.
The system appears functional (records audio, transforms it, outputs a prediction), but the accuracy is pretty low, and was therefore not integrated into the main project. The high level process of arriving at the current state is summarized below.
For a more in depth discussion, reference the Independent Inquiry section in the full report.
Summary of Independent Inquiry Process
-
Creating a basic ML model
- Collecting and loading data
- Eliminating outliers
- Training and testing model
-
Iterating on the model
- Trying various preprocessing techniques
-
Modifying model to be compatible with software/PSoC
- Drastically reducing model size
- Replacing/removing layers (newest version of TF was not supported)
-
Writing audio preprocessing code in C (prior experimentation was done in Python)
- Trimming silence on real time recorded audio
- Short Time Fourier Transform to prepare for ML model